How I Make Fine Art Prints
The making of a fine art print of course begins with the creation of the image. But then that image also has to be a physical object you can hang on your wall. In traditional printmaking the process of creating the image also creates the physical print, but with a digital original as many of my works are, you have to get the image from the screen onto the paper. You would think that would be the easiest thing in the world. I mean who can’t just hit the print button? My days would be shorter if it were that simple 😉. For me, making a fine art print isn’t the same as cranking out a Word doc onto bond paper. I approach the making of a digital print with the same care and attention to detail that I do when I am making a lithograph or etching on a traditional press.
The Reference Print
During the process of making the image, I have made multiple prints on low quality papers as I assess the drawing, composition, color, and scale–all the things that go into making a work complete. Now it’s time to make the final print!
-
First I do a color check on a small sheet of the final paper. Image colors shift slightly from paper to paper, so this is important to establishing the perfect color for the final print. At this point there may be a final adjustment to the print colors to make sure that they are wonderful on the paper that the edition will be run on. I may correct and print more than once until the colour is perfect.
-
At this point I will make a Reference Print. The Reference Print is the gold standard to which all prints in the edition will be made. All the prints that I make and send to art buyers will match this print exactly. Before I sign the Reference Print, I carefully inspect it with a loupe to make sure that it is flawless, and the colour is perfect. The print is made at a large size, initialed on the front and marked “AP” for Artist’s Proof. On the back, the print is signed, dated, and identified by its full title.
-
I put the Reference Print into archival dark storage, and bring it out to use as a match print when prints in the edition are ordered.

When you order your print, here’s what happens:
I refer to the print notes that I have made for this edition. These notes cover the monitor calibration, printer setup and calibration, paper choice, and any other specific notes about the edition.
I set up the printer with the correct settings and ink densities for the edition.
Wearing white cotton gloves to protect the surface, I get out a sheet of paper brush it over gently with a soft brush to remove any tiny specks of dust or paper that may be on the sheet.
I feed the paper carefully into the printer.
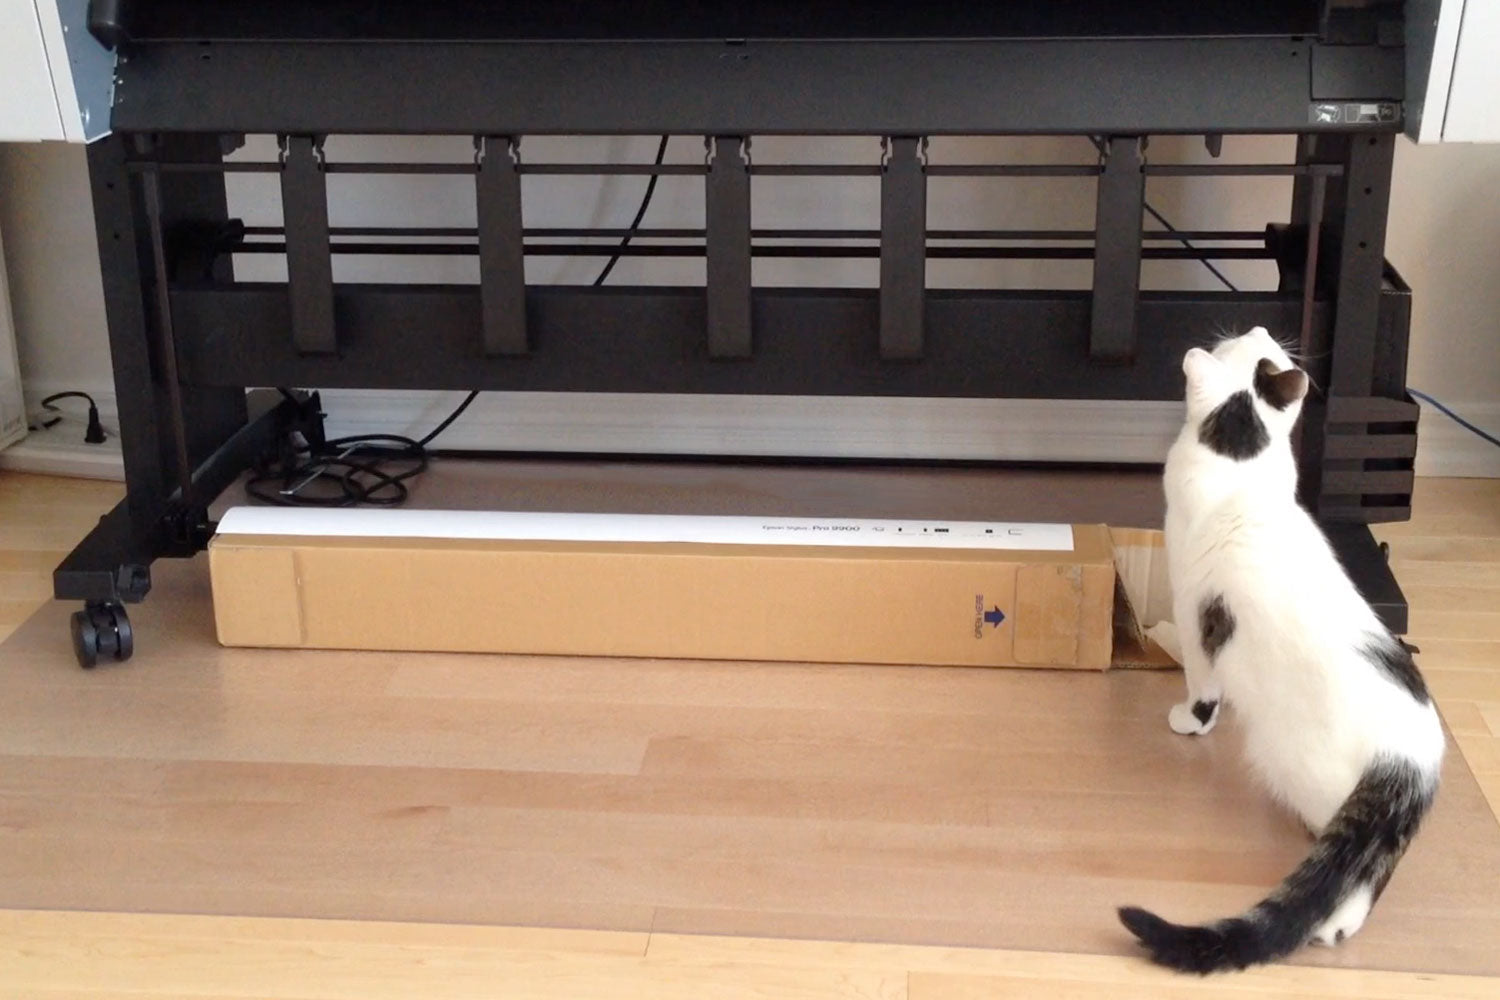
Now’s the big moment! I send the image to print, and wait with bated breath to see it emerge from my digital “press”, preferably with supervision from my feline muse.
- First I check that the colour and image position match those of the reference print perfectly.
- I inspect the print with my naked eye to make sure that there are no immediately visible flaws or imperfections.
-
I then take a loupe and carefully inspect critical areas of the print to make sure that they have printed properly.
Now the print is ready to be trimmed to it’s final size. In most cases I like to work to standard frame and image sizes. I like matless framing, and the prints are the ideal size to fit within standard mats if that’s what you prefer–for example, a 5x7” image on 8x10" paper.
Once I am satisfied that the trimmed print is flawless and matches the reference print, I initial and number it on the front, and sign, number, title, and date it on the back.